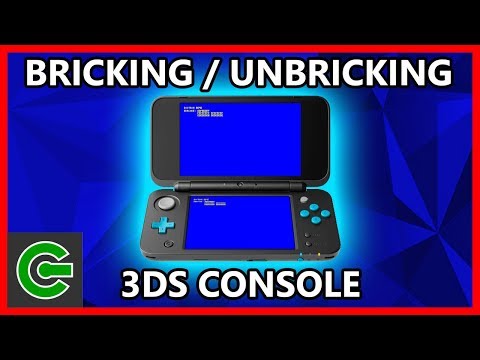
I think i have bricked my console Do you guys know what this is? So about my bricked console, actually I did it on purpose I did it to show you how I managed to fix it later This is my 2DS XL It is running custom firmware 11
6 Read the related video link in the description to install custom firmware on your console Before doing anything, I suggest you take your magnet and try to find the sweet spot to sleep the console I used a screwdriver magnetizer and demagnetizer for this Put it near the ABXY button and notice the screen goes black if affected by the magnet Now you have found the sweet spot Remember this configuration For those who have the New 3DS XL, remember this sweet spot It is located below the ABXY button For the flashcart, I have an R4i 3DS RTS flashcart Read the description for a list of ntrboot compatible flashcart
You will need this flashcart to repair a bricked system So turn off the console for now I have installed custom firmware on my console, so I just need to remove the micro sd card from it Use winrar to open the unbrick package This is the unbrick package and this is the console's micro sd card Extract all the content from the package to the root of the micro sd card Replace all files if prompted Reinsert the micro sd card to the console At this stage, the flashcart is still visible on the homescreen You can still see all my nds games here Nothing to do here
Just press the home button to exit to the home screen Turn off the console Press Start and Power button to enter Luma chainloader screen Select ntrboot_flasher then press A to run it Then press A to continue Now choose your flashcart from the top screen I used R4i Gold 3DS Select Dump Flash to backup the flashcart firmware to the SD card so you can restore it later Press A to return to the main menu Then select Inject ntrboot Press A to select retail unit ntrboot It will take about 2 minutes to flash the cart Then you can Reboot the console Now the flashcart is not visible on the homescreen This is normal because you have flashed the ntrboot into it
Turn off the console Now we will need to backup the console's NAND It is mandatory to backup the NAND so you can restore it later if anything goes wrong So let's fire up Godmode9 by pressing start and power button while booting up the console Press the Home button and choose Scripts Then choose backup SysNAND Make sure your SD card has at least 2 GB space left to backup the NAND The backup process will take about 8 minutes to complete so please be patient Then you will see the backup file at the out folder inside gm9 folder These are the NAND backup files Now let's brick the console
Press B several times to get back to the main screen Then enter the SYSNAND VIRTUAL partition Choose the nandbin file then press A to select it Choose Show in Hexeditor then press A to continue Press A to open the Edit mode and press A again to confirm Enter the given combo keys to begin editing the NAND It is so easy to brick the NAND
Editing one character will do it So pick a character on the third column and edit it I picked this percentage symbol then hold the A button and press the right button once to change it to 5 Then press B to exit the editing mode and press A to confirm it Press B again then press A to relock the NAND And then after pressing Start, you will have a bricked console The next step is how to repair it
Turn off the console Now prepare the magnet and put it on the sweet spot Now press and hold X, Start, Select and Power button for a couple of seconds If done properly, you will be at Godmode9 You can take aside the magnet if you like Ignore the warning on the screen then press A to continue From this point, you have some choices to restore the console The first option is to restore the console with a NAND backup The second option is to reverse what you did to the console
If you don't remember how to reverse the steps you did or you don't have a NAND backup, then you cannot save the console If you want to restore the NAND, just go to the out folder inside gm9 folder There should be two files there Select the largest file then press A to continue, then choose NAND image options Then choose Restore Sysnand (safe) Ignore the warning and press A to continue Then again ignore the warning and press A to confirm I know how I bricked my console, so I just reverse it Now the console is restored to its previous state Now we will restore the flashcart
Turn off the console Press and hold start and power button to enter Luma3DS Configuration screen Select ntrboot_flasher Now select your flashcart I chose R4i Gold 3DS Then choose Restore Flash It will take a while to restore the flashcart Press A to return to the main menu Then choose Reboot And the flashcart is now visible on the home screen Now you have completed the bricking and unbricking tutorial Thank you for watching this tutorial
I hope it helped you Please like, comment and subscribe for more upcoming videos